Wohin mit meiner Kreativität? Was ist Kunst? Brauche ich ein Etikett für das Schöpferische in mir? Dieser Kreativ-Blog möchte dazu ermutigen, künstlerisch aktiv zu werden, mit Materialien zu spielen oder auch nur Ideen für ein persönlicheres Zuhause zu bekommen. Trau Dich, auch quer zu denken. In jedem von uns ist das Kind verborgen, das neugierig, spielerisch und experimentierfreudig ist. Nicht (nur) das Resultat, der Weg ist das Ziel.
Draußen wird's grauer und grauer... Um so heller werden die Dinge, die
ich um mich herum versammle... So bin ich auf meine älteren Tage dem
Prinzessinnenlook verfallen... Dem etwas angestaubt schäbigen...
Sie freuen sich, etwas Aufmerksamkeit zu bekommen! Vielen Dank für Euren Besuch bei uns!
The autumn sky is getting more and more grey... All the more reason to get crafting in lighter colours... Despite of my progressed age, I seem to be into the princess look... A more shabby, dusty look admittedly...
They are happy to get so much attention! Thanks so much for visiting!
And a little late, but all the more happy to link to: AppleApricot "Simply Neutrals Tuesday"
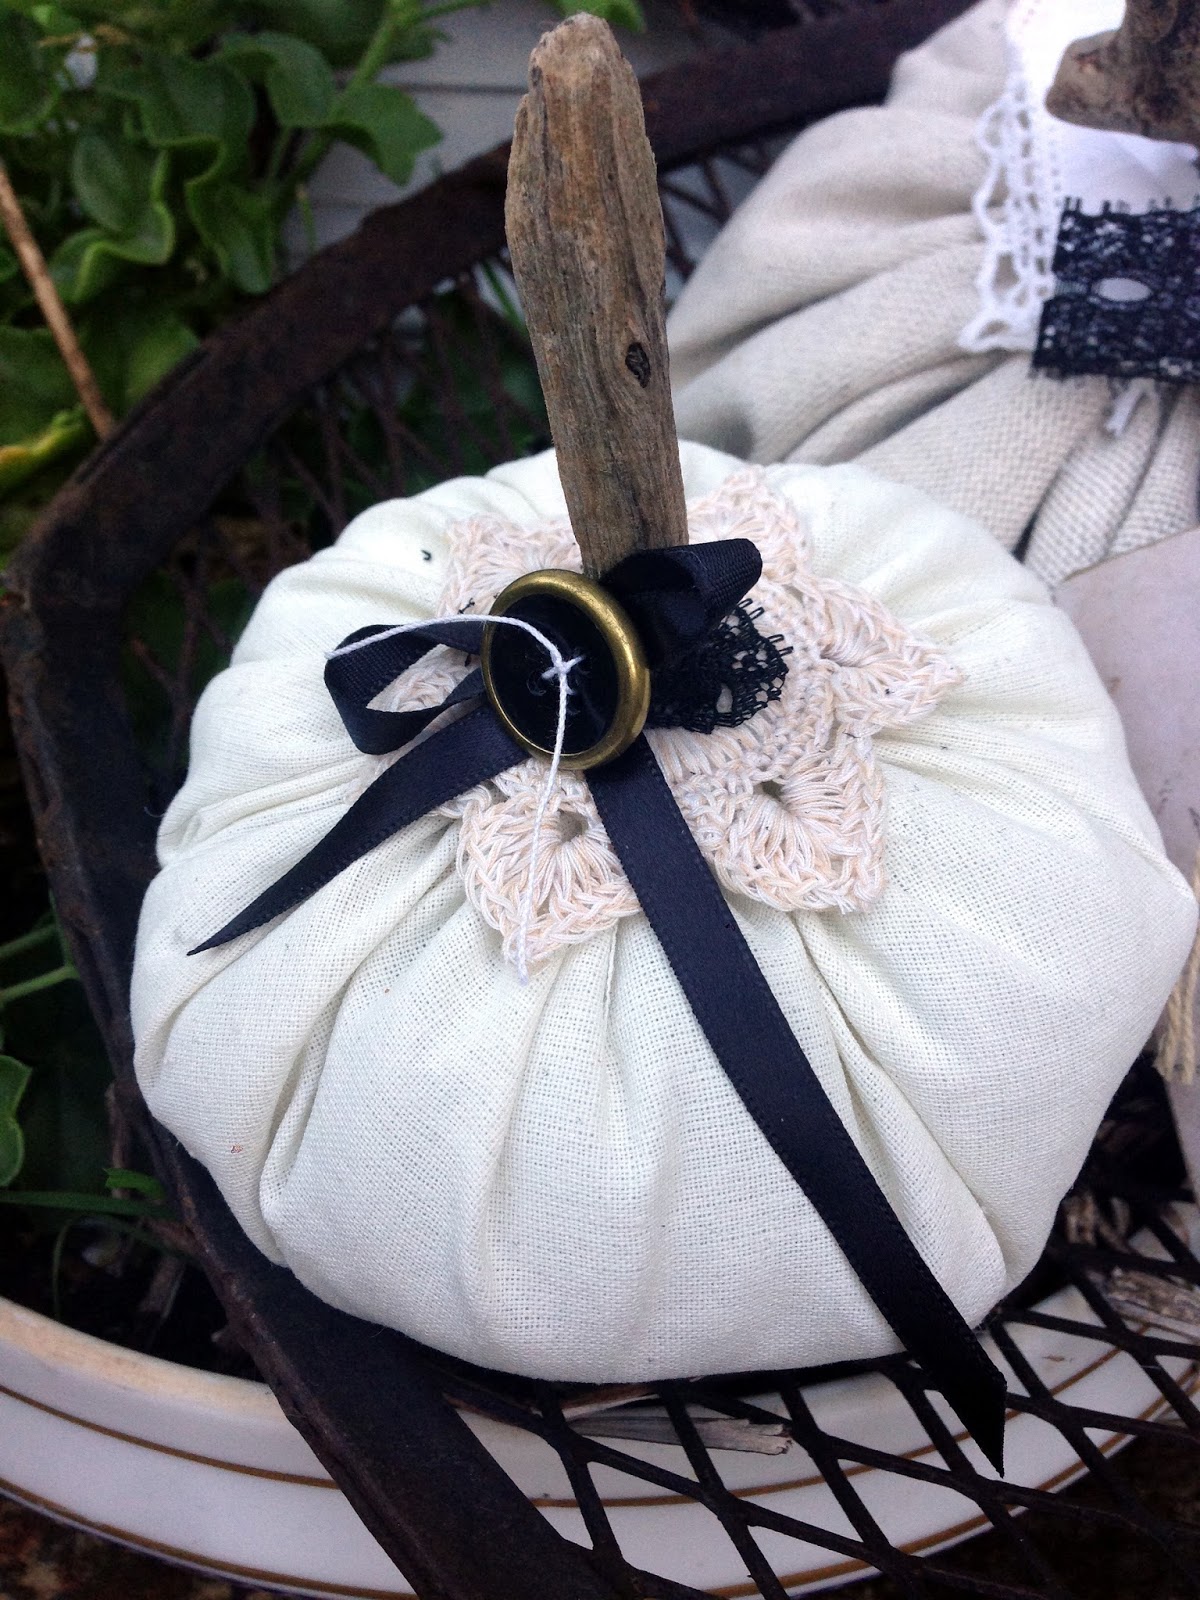
Huch... Das war's schon wieder... Der Sommer ist vorbei! Kürbiszeit!
Alle Jahre wieder macht es mir Freude, sie aus alten Stoffen in Form zu bringen (und sie in meinem Dawanda-Shop zu lagern).
Vielen Dank für Euren Besuch!
That's it. Summer is over... Pumpkin-time...
Every year I have great fun creating them from old linnen and materials... And this time it gives me the chance to particiate in this great new party " Simply Neutrals Tuesday" hosted by Wendy from Appleapricot. Please have a look at the stunning and oh so inspiring contributions.
Thanks so much for looking!
Also ich sag Euch eins, liebe Blogfreundinnen! Von der Aktivitätenvariante, die ich Euch hier und heute zeige, wird es in Zukunft mehr geben (falls es Euch interessiert, heißt das). Ich bin sowas von in Wachs versunken, das glaubt keiner. Mein Haus riecht nach Bienenstock (und verbranntem Bügeleisen, wenn ich mal nicht auf die Temperaturregelung geachtet habe). Lecker ist das! Und Spaß macht es auch. Heute zeige ich Euch ein "Endprodukt". In Bälde folgt ein Tutorial weil ich Euch unbedingt die Einfachheit des Materials und die Freude daran nahe bringen möchte. Jetzt gibt's aber nur was zum Gucken: Ein gewachstes Collagenbild (oder wie man das nennen möchte). Das Gedicht ist von Emily Dickinson.
Vielen Dank ihr Lieben und ein wunderbares Wochenende!
I am telling you one thing, dear blog friends! The type of activity which I show you today will surely be repeated in future (if you wish to see it, I should add). I am completely sunken in wax. My home smells of a bee hive (and burnt iron whenever I have not taken care for the temperature). Very tasty, indeed! And great fun, too. Today I will show you the final product. But there will be a tutorial soon as I NEED to show you the simplicity of the material and the joy to work with it. For now, however, there is only something to look at: a waxed collage... The poem is from Emily Dickinson.
Thank you so much for your visit again and have a wonderful weekend, my dears!
Habt Ihr auch ein Faible für alte Gemälde, könnt Euch einen Renoir aber nicht leisten? Hier ein toller Tip, so zwischen meinen "ernst zu nehmenden" Posts:
Der Ausdruck des Gemäldes eines beliebigen alten Meisters, ein Canvas oder Holzbrett, am besten in DIN A 4 (da dies das gängige Druckformat ist und ihr nicht Ränder kaschieren müsst wie ich es tat), Serviettenkleber, Modpodge oder eine dicke Schicht Acryl-Klarlack, Wachs und Fön.
Hier gibt's ein Video, da ich die einzelnen Schritte nicht fotografiert habe:
Ganz kurz und ohne viel Tamtam:
Bild ausdrucken. (Laserprint oder Inkjet. Nicht wasserfesten Inkjet-Ausdruck (nur Bildseite!) vorher 2 mal mit Klarlack einsprühen oder mit Gel bestreichen, gut trocknen lassen!)
Leinwand mit Kleber (Acryllack, Malergel von Golden o.Ä., Serviettenlack...) gut einstreichen
Druck mit Bild nach unten auf die Leinwand pressen. Gut andrücken und keinen Kleber auf das Papier bekommen!
Einige Stunden trocknen lassen.
Mit Wasser bestreichen, Papierschichten abrubbeln. Vorsicht, nicht zu stark rubbeln, da sich sonst das Bild aus dem Lack löst.
Sobald das Bild nur noch mit leichtem Schleier bedeckt ist, entweder lackieren, damit es transparent wird oder wie hier mit geschmolzenem Wachs bestreichen und durch Embossing- oder heißem Föhn zu glatter Oberfläche schmelzen.
Nach dem Erkalten mit weichem Tuch polieren.
(Da meine Leinwand größer als der Druck war, kaschierte ich die Ränder mit Acrylfarbe)
Na? Habt Ihr bald auch nur noch "Originale" in DIN-Größe im Wohnzimmer hängen? Viel Spaß dabei! (Wenn Ihr Fragen habt, schreibt mich ruhig an!)
Are you in awe of the Old Masters but cannot afford to pay for an original in your sitting-room? Here is an idea for you:
The print of a painting, a canvas or wooden board, (for reasons of simplicity choose one in the size of your print. I chose an image smaller than my canvas and I had to paint the white edges with acrylic paint), Modpodge or a similar glue, (bees-)wax and heat-gun. Above video shows you the exact how-to. You might all know about image transfers. But the cherry on the pie, as so to say, is waxing the image in the end. You just melt your wax, paint your image with it, unify the layer with the heat-gun and then polish the whole canvas till it shines. It is awesome, even those little pimples of the canvas show through. You will see, you will have a whole load of Old Masters over your sattee soon. Have fun with it!
Ojeoje... Zur Osterzeit habe ich Euch das letzte mal hier gesehen, liebe Blogfreundinnen. Es wird Zeit, ein Lebenszeichen abzugeben, wenn es auch nur ein paar Frühlingskarten sind, die ich gebastelt habe und die (hoffentlich passend) dem Geschmack der jeweiligen Empfängerin nach entstanden.
Vielen Dank für Euren Besuch bei mir!
Such a long time.... It was Easter, when I last met you here, dear blog-friends. It's about time to show a sign of life, even if I can only show you some cards which I had crafted for dear friends and which I designed according to their tastes. (Hopefully according to their tastes!) Thanks so much for looking!
Braucht Ihr noch etwas Osterdekoration, liebe Freundinnen?
Einige meiner Mädels brauchten ein neues Zuhause zu Ostern. Leider sind die Gesichter teilweise etwas schlecht fotografiert. Sie sind krakeliert und reflektierten im Licht. Egal! Ihr seht ja den Rest und habt Fantasie genug!.
Ihr fragt nach dem Wie? Halbe Fülleier, mit Acrylfarben bemalt, Löcher mit Hammer und Nagel gepiekst, Draht zum Aufhängen durchgezogen und nach Lust und Laune gefüllt... Dazu sind sie ja da, oder?
Vielen Dank für Euren Besuch und die immer so netten Kommentare!
In need of some more Easter decoration, dear friends? Here comes a flood of images. Unfortunately though, the girls' faces have not been taken so well, they are craqueled and reflect the light too much. Anyhow! You can see the rest and I am sure you have plenty of fantasy!
Thank you so much for your visit and all those friendly comments!
"Jedes Jahr dasselbe Theater", dachte sich der Osterhase. "Kaum hüpfe ich osterhasenfröhlich und frühlingsaufgeregt von Nest zu Nest um meine buntgefärbten Eier abzuliefern, da stehe ich vor Bruch und Scherben." Tja, das charakteristische eines Eies ist die Zerbrechlichkeit, die natürlich nicht in Einklang steht mit dem Wirbeln und Tänzeln eines quirligen Osterhäschens.
Mein Vorschlag sieht so aus: Blecheier entfärbt, verziert, stabil! So klappts auch mit der Lieferung!
Dankeschön, Ihr Lieben, dass Ihr mir auch bei Albernheit Gehör gebt! Ein schönes Wochenende Euch allen!
"The same fuss again every year", said Easter Bunny to itself. "As soon as I start hopping from nest to nest in the most springy and easter-bunnily mood, twirling and bottom-wiggling about, the result is: shards and smithers." That's it. One of the characteristics of an egg is its fragility which certainly does not conform with the twirling and whirling of a lively Easter Bunny.
This is my solution: Tin eggs. Discolorized, decorated, stable. This grants a safe delivery! Thank you, my dear friends, for having the patience to follow this little silly story! Have a most relaxing weekend, my dears!




.jpg)
.jpg)
.jpg)
.jpg)


.jpg)
.jpg)

.jpg)
.jpg)
.jpg)
.jpg)

